Showing posts with label Building Blocks. Show all posts

Sunday, September 7, 2014

A final photo

This is my final post in the BBQA series- use the tags at the bottom to see the posts about the individual blocks.

This quilt was a GREAT experience for me. I almost didn't do it, because I'm not a beginner. But everyone can use practice.  I did learn some new piecing methods (curved seams, which aren't really part of the pattern; paper piecing, the house blocks, and the handle for the basket). I also got to practice my precision on well known blocks.  None of the quilting was new to me, but much of it (especially circles) needed practice. I'd never done marked quilting either.  I think my favorite thing about this was that it gave me something to quilt that was a small time commitment, just a weekend of quilting every month.  It certainly isn't perfect, and I'm not sure I grew as a quilter, but I got to quilt- and that's what I wanted.  But if you are a new quilter- the skills covered by Leah in this pattern are just phenomenal. The video support especially is great.

The quilt is put together with quilt-as-you-go sashing. This is the third time I've done this, and the third method I've tried.  This I think is my favorite.  A few don't line up well, but that was when I was using pins. When I switched the magic clips, they got much closer to lining up (nothing I do is perfect).  The last few rows were tough to wrestle through the machine, but overall, I really liked the method. You could hand sew for invisible sashing, but there was no way I was doing that.

I did hand sew the binding to the back, so it does not have a line.  Here is what it looks like altogether! You should be able to click to see this photo larger. (And thankfully the dark marks on the basket blocks did wash out...)

The quilt is now hanging in our front entry way.  I used a blind-hem method of putting the hanging strip on and you cannot see it AT ALL.  Very impressed with this idea, and so thankful I ran across the tutorial.
http://weallsew.com/2014/08/26/easy-diy-quilt-hanging-sleeve-almost-entirely-by-machine/

Wednesday, September 3, 2014

Block 12: Sawtooth Star

Excuse the formatting on this post: the photos would NOT go where I wanted them!

And the final block of the quilt-a-long (which I guess I didn't quilt along very well, since I started late and ended early...)  This was a really neat exercise in learning to piece new blocks while getting to focus on what I really like- quilting.

I really like how these blocks turned out. I did well piecing the star, but then when I put on the border I lost a lot of points :(  Guess I need some more practice.


Tuesday, September 2, 2014

Block 11: Wonky Stars

This was a fun block to do- you laid out four 12 inch squares then slash cut 5 lines into them in the shape of a star. Then you rearranged the two colors and pieced them back together again.  Very cool technique.

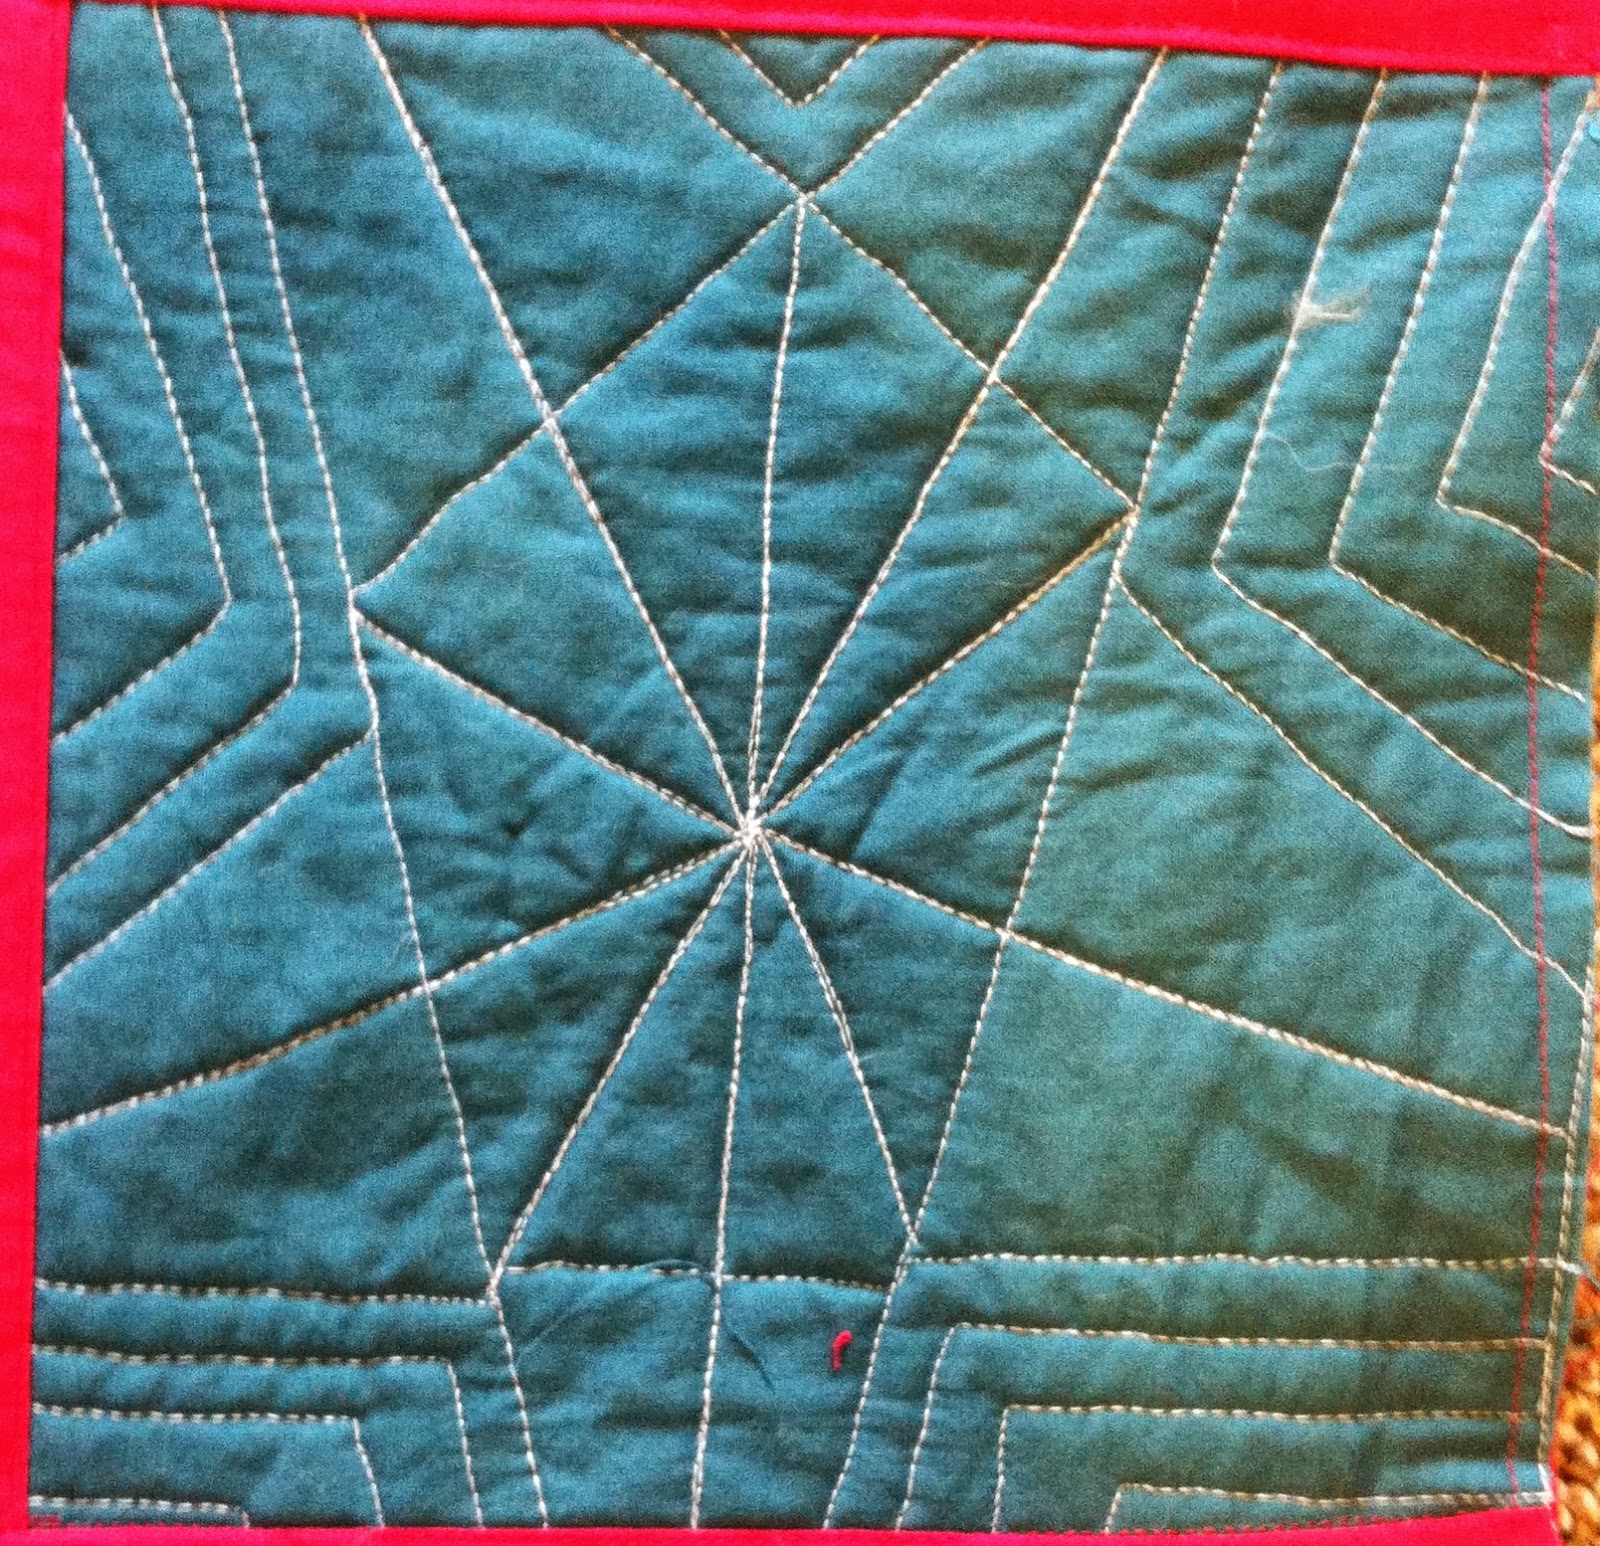
Not much else to say, so enjoy the photos. Again, I modified Leah's quilting designs a bit.


Monday, September 1, 2014

Block 10: Baskets

The part of the basket that was a challenge was making the handle. It was turned against a piece of freezer paper, and was difficult to get to really curve.

I used a gluestick to hold it down while machine appliqueing in place, and despite using these gluesticks many times before, it looks like after I rinsed the blocks the glue came through and caused dark marks.  I hope when I wash the quilt in the washing machine it just washes out all the way. I haven't had that happen before, and really dislike the dark marks!  You can't really tell from far away, so I'm not too worried about it.

I did three sets of blocks this weekend, and got a bit tired of marking, so I just did a few lines to give me a sense of the pattern and did the rest freehand. I also changed the designs a bit on these blocks and the next two sets. I was ready to be done- and some of them were just too tedious to mark or quilt.

I had all these baskets rotated so that they were point to the bottom left, and none uploaded that way.  Oh well, you still get the idea.


This weekend I also did all the sashing!  The quilt is 90% done- just have to hand stitch the binding now (which will take forever...) 


Sunday, August 24, 2014

Building Blocks Block 9: House Block

This was my favorite block so far. I was nervous about it- because it required a lot of precision to get all the pieces lined up, but it ended up coming out exactly the right size it was supposed to be. I felt very proud of my piecing skills.  Of course, there were no corners or points to line up.

Here are the 4 blocks:

And their backs to show off the quilting. There was quite a bit of travel stitching, especially on the roof lines.


And here is what the quilt is looking like so far! Just three more months of blocks to go. I may just go ahead and do them, I never watch the instructional videos anyway. Except the paper piecing and the curve (which I actually modified, since it wasn't meant to be a curved seam), there really wasn't a lot of skill building in this set for me. I don't regret doing it though- it still was good practice on making a lot of pieced blocks. I'm really starting to dread the part where I have to sew all these blocks together with binding strips!

Friday, August 8, 2014

Building Blocks Quilt Along: Block 8

This block was a paper pieced spinning squares pattern.  I have to say, I don't like paper piecing.  Although maybe it would have been easier if I cut the fabric rectangles as advised by the pattern and not tried to use scraps; but I know my fabric may run short on this project so I wanted to use up some of the scraps (coming soon: awesome scrap project, BTW.  I've done some more collages...)

So here are the 4 blocks.

This block was supposed to just be all over stippling, and that sounded boring. I just got a new magnifying glass so I decided to make up a new design to test it out.  What I learned 1) the magnifying glass does help me have better posture, as I don't crane to see the block but 2) you can only see what is in the glass, and that kinda sucks.  However, in interest of my posture, I'm going to keep using it.

So here's my design. As always, I like the back more than the front.

 This project has really expanded my ability with straight lines, but I'm still not fabulous. For some reason, my piecing on this block as coming apart a bit, so I added an extra line on the inner pink triangles that is basically holding the piecing together. Oops. Clearly I have something to learn about paper piecing...

 This was the most fun design. Super easy. I probably should have modified this too, but it wasn't just straight stippling, the pattern was fun.

 This was the most challenging design. My circles look more like lumps.  I don't think it looks that bad though.

And here is the progress on the whole quilt.  I have the houses pieced and 3 quilted already.  I'm just now starting to think about how daunting the connecting strips are going to be. This is a lot of blocks!


Friday, July 4, 2014

Building Blocks Quilt Along: Block 7

This month's block was a disappearing 9 patch.  I am definitely not a piecer. This was just way too many seam for me. (For some reason it was also not strip pieced like that last 9 patch, and I think that made it even longer.)

The quilting designs on these were interesting. Sadly, I wasn't perfect, and on one of them I am debating ripping the thread out and giving it another try on the part where the mistake is the worst.

This is the one I'm thinking about redoing. The third circle in the center has one quadrant where it is just WAY off. I really think it might be worth fixing.

This one is my favorite of the group. I love the starbursts.
 This one Leah suggests you mark the circles with a circle template. That seemed like A LOT of circles to me. So I just drew the general idea of where the circles went and free-handed them using a squiggle all the way up the column and then back down; kind of like when I do "Diane-shiko" design. I think for free hand, most of them came out pretty circular.

 And here is the progress on the quilt.  I'm not looking forward to doing the sashing. First, because I need to get fabric. And second, because it is going to be a lot of hand stitching.

Sunday, June 15, 2014

Building Blocks Quilt Along: Post 6


 This month's block was a pinwheel. This was a difficult one to piece, since I am really really trying for accuracy.  Mine weren't too far off, but they also weren't perfect. 


The quilting designs this month were really fun. Two of them went really heavy through the center, which I think had a bit too much build up, and my stitch in the ditch still needs a lot of work, but overall I think these look really good.  This is the first time I've done pebbles as a pre-marked designed. I don't think I would mark them again, but I'm happy with how they look. Marking them means that I got to have a lot of different sizes, and they look really good- but it loses freedom of how to fill the space if your circle is just a bit off.  However, I love how pebbles let you travel anywhere when you get stuck. There is so much traveling anyway, that you can just go back over anything.  My favorite of this block though is the echo quilting curves. I love the movement in it.


And here is what the progress on the whole quilt it: