Tuesday, May 27, 2014

Fat Quarter Shop 12-pound Grab Bag Review

I recently ordered a grab bag from fatquartershop.com.  If you read my other grab bag review (from Craft Connection), you'll know I was disappointed- a lot of the fabric was poor quality and it didn't amount to much savings per yard.

This review is the opposite of that. I bought a 12-pound grab bag from Fat Quarter Shop. The UPS label said it weighed 13 pounds- so they did a great job filling this box up!
This box doesn't look that big...

http://www.fatquartershop.com/12-pound-fabric-grab-bag
It cost $78.99 with shipping, so not cheap (right now though there is a coupon code ddapron, I believe- It would have saved me $14!!! but I looked all over for a week before I ordered and couldn't find a code. Now I'm kicking myself of course.)

This fabric was all top quality, first rate fabric. Name brands like Michael Miller, Timeless Treasures, Moda.  Almost everything was yardage - selvedge to selvedge cuts. So little of it was other cuts, I actually didn't include them in my totals.

Non-selvage cuts: one 10" square, one 1/3 yd x 1/2 yd rectangle, two 6.5" x 10.5" rectangles.

So what about the rest? There were 75 pieces. They ranged from 5" to 32". The length I got the most of was 18", with 20 pieces. The second most common length was 23", with 9 pieces. And the third most common was 16", with 6 pieces. Typing out this paragraph makes me want to break out my Fathom statistical software. I could tell you all kinds of statistics about the fabric lengths (such as the average length being 16.5" inches, or the median being 18"- which as I already pointed out is the mode.  Do you want to know how many are within 1 standard deviation?)
This stack really doesn't SEEM that big...
But that would be boring.  More interesting might be to know that in all I got 34.3 yards of fabric. Which means the price works out to $2.30 per yard.  Since all of it is great quality useable fabric, I'm pretty happy with this. Even the designs I won't use will be great backings for small wall quilts. (My wall quilts always have absurd backs.)

And even more interesting might be pictures of the fabric:
Polka Dots
 Geometric Prints
 Solids (wish I got more of these!)
 Stripes and Chevrons:
 Floral and Leaves (the second from the left on the bottom row is my favorite fabric- a gorgeous tree print that I just want to frame as is.)
 Novelty fabrics:
 A group I couldn't categorize (I LOVE this peacock!):
 Kids fabrics:
 Another group I couldn't really categorize:


I am just SO in love with this box.  Once I use a quarter or half of it, I might buy another one.  But I think I am going to be really patient and wait for a coupon code!

Building Blocks: Post #5

 This month's block was Drunkard's Path.  I had never done curved seams before, because I had heard they were really hard. The pattern is actually set up to do this as reverse applique with a raw edge (sew the two squares on top of each other, and then cut away to reveal the fabric underneath)- but that isn't really a "stretch" for me, and this pattern is about learning new things.  So I googled to learn how to make the template to sew the seams as a pieced block. (Turns out it was really easy- draw the squares twice with the seam line marked. On one square mark 1/4" inside the seam on the other mark 1/4" outside the seam, and now you have templates for the two pieces.

So is sewing curved seams hard? Well, not really- it's just like sewing in a sleeve!  I practiced a method with pins and without pins and I found using pins to be both faster and more accurate.  I am really happy with these blocks.


The quilting wasn't too difficult, though there was a lot of traveling involved.  On the spiral block I wobbled really badly at one point, so I'm a little annoyed about that- but I absolutely LOVE the design. It reminds me of Celtic Bubbles, that I use quite a bit.  For that block, because there is an open string end in the middle of the block, I actually had to bury my threads. Since these blocks will be cut and sewn together later, I have just been sewing right off the edge as a shortcut :)


 Someone on the Building Blocks facebook had a brilliant idea to use a computer program to put together images to share our quilt progress.  So cool! This is what I've done so far, and what is yet to come!


Wednesday, May 21, 2014

Building Blocks: Post #4

The next block in the building block series is a "modern" block. This block should be incredibly easy because there are no matched seams.  Well, I still managed to sew one different from the other- so one of my blocks is sewn backwards.  If it can be done wrong, I'll do it wrong!

This block was to teach about quilting on different scales.  I do a lot of small scale quilting, so it wasn't really a problem for me to do the 1/8" scale which is what a lot of people struggled with.  I still struggle with straight lines, but maybe they are getting better.  I don't think I'd do tiny cross hatching on the inside of a quilt though- the travel lines get really heavy!

I didn't take a picture of the tracing, but rest assured, it was sloppy and I quilted okay in spite of it :)

Here are the fronts:


And here are the backs:

Sunday, May 18, 2014

Craft Connection Scrap Bag Reviews

I just realized I never posted these reviews- I got these scrap bags in October 2013.  Someone on quiltingboard.com had recommend CraftConn.com as a place to get some good scraps. We had just had a guild speaker talk about scrap quilts- and really, I don't have many scraps :(  So I want to build up the collection just a bit.  This definitely helped do that!

Since getting these bags, I actually haven't done any scrap quilts, but I've used a lot of the solid fabrics to back small quilts. Usually it has had to be pieced (often just with itself to make a different dimension), but it has been getting used :)

So here is what I got:
Now let's talk about it is.
I got two 1 lb solid scrap bags ($4.14 each), one 1 lb bright scrap bag ($10.50), and one 1 pound pink scraps bag ($8.00).  Shipping was $12.35.  In retrospect- the bright and pink are kind of expensive because at the time fabric.com's 3 pound scrap bag was $19.99 (though it is now double that), and fatquartershop offers a large grab bag for a lot less per pound (but a higher cost over all).  However, in the case of craftconn, you get what you pay for. The scraps in the bright and pink bag are just much better fabric than the solids. The solids are pretty shabby- many of them are pilling already- right out of the box!  I was pretty disappointed by that.

I figured out that the fabric cost me $2.95 a yard overall.  Since I'm using it, it isn't that bad, but fabric.com often has sale fabric for that price- so I could have just gone and selected a few of those cuts if I want it for backing and test blocks. However, since I wanted a variety of colors and patterns, that wouldn't have worked for me here.

Since I planned to review the scrap bags (and I PLANNED on being more prompt) I measured all the fabric. The bags ranged from 3.2 yards to 3.5 yards each.  I split the shipping cost per box and a pound ranged from $2.06 to $4.12 per yard.

Here is what I got:
Solid bag #1 (1 pound; weighed 1.01 pounds)
17" cut of yellow, pink, green, blue
1 Fat Quarter of blue (very faded, unfortunately)
9.5" cut of black, and two of white
6" cut of black
14" cut of thin muslin
This was 3.2 yards, the bag was $4.14 + $3.09 for shipping or $7.23 total; $2.26 a yard.

Solid bag #2 (1 pound; weighed 15.9 ounces)
17" cut of brown, beige, yellow, pink, green, blue
15" cut of white
11" cut of black
3" scrap of black
This was 3.5 yards, bringing it to $2.06 a yard

Bright bag (1 pound; weighed 15.9 ounces)
16" cut of pink and rainbow
15" cut of stripes, red, and orange
7" cut of green
9" cut of green and dolls
6 Fat Quarters
1 9" square
This was 3 1/3.  The bag plus shipping was $13.59, bringing it to $4.12 a yard.

Pink Bag (1 pound; weighed 15.9 ounces)
5"- one cut
17"- 2 cuts
2 Fat Quarters
14 Fat Eighths
This was 3 1/3 yards. The bag was a total of $11.09, making it $3.33 a yard.


So overall- I can use what I got, but I don't plan to buy a grab bag from this place again. The solids were crappy fabric, and the other fabrics were too expensive for unknowns.

Building Blocks: Post 3

I'm quickly catching up on this quilt-along, even only being able to sew for a short amount at any one time. (I go in Friday for new x-rays. Hopefully the bone has healed and I can remove the neck brace. And hopefully the neck brace and the weird posture it puts me in is the cause of the pain, and I feel better next weekend!)

It kinda makes me wonder if I am going to stick with 'along', or if I should just go through the blocks at my own pace. The thing is, for a few blocks, I might need the video instruction.

Anyhow- this block was super easy to piece. The outsides are wider than the inside strips because, remember, this gets trimmed to 8" squares before assembly.

As before, I found some of the tracing difficult. It is hard to do long lines because the fabric shifts. And because I am tracing the circles, they aren't that accurate. (Sorry the writing block is rotated. It isn't on my computer then turns when I upload it and I can't turn it back)


 And here is the quilting (I don't get it. Here the writing block is upside down!).  You can see my circles need a lot of work. Writing words is probably the easiest, though tracing is easier to do than free handing them (but that is because my handwriting is awful):


And the back of the blocks. I don't really have any issues with these. I think overall they are pretty good.


Saturday, May 17, 2014

Building Blocks: Post 2

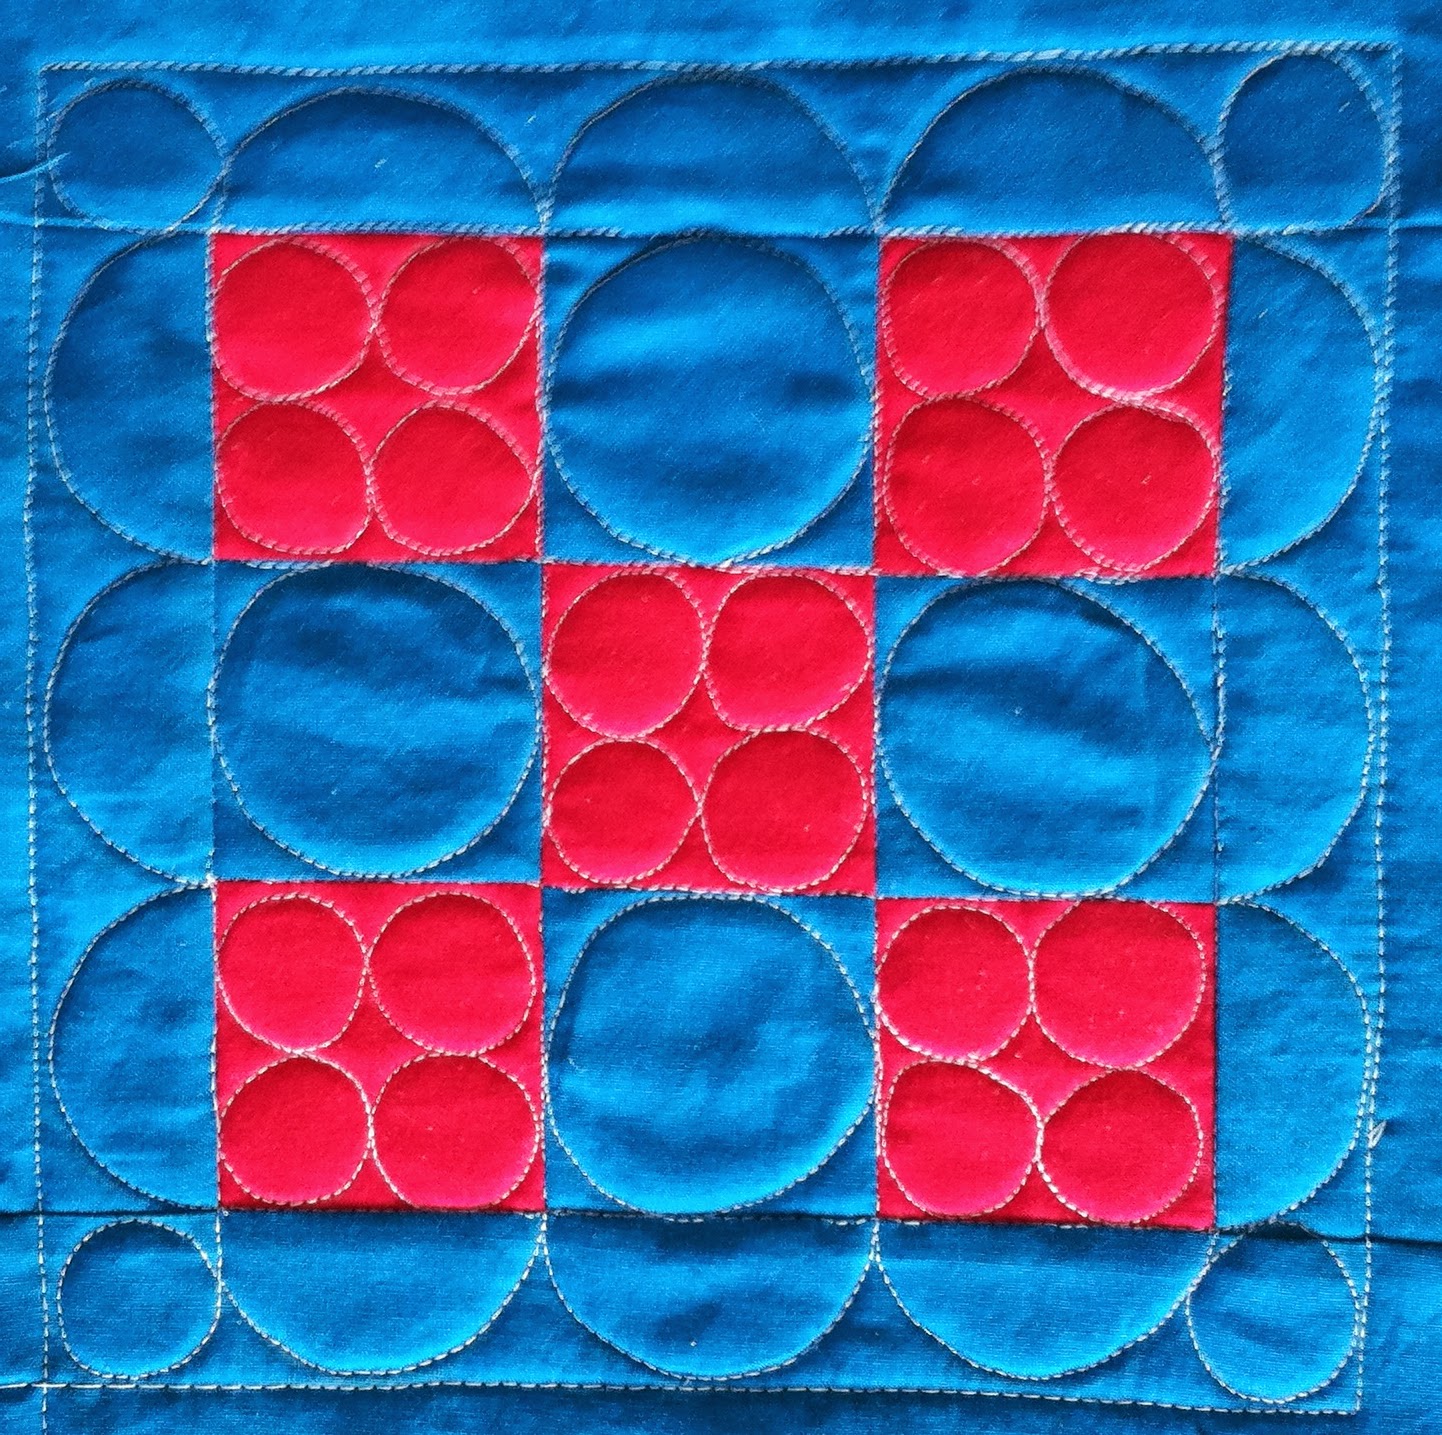
This is the block from February. For these 9 patches I actually used pins, and still my corners weren't too great. These seams are pressed open, and I think maybe nesting seams pressed to the side would help.  I know various quilters have various opinions about what makes more precise piecing.  Leah Day likes open seams, but I'm not sure if that is for piecing reasons or because she finds them easier to quilt (I know she's said that).  All I know is no matter which way I do it, they don't line up well.

All the seam allowances made these ones really hard to trace. I really should have gotten a circle template like we had in engineering school, because my traced circles were not really good, so of course, my quilted circles aren't that great either.

Here are the traced blocks:


And here are the blocks with quilting:


And the back of the blocks.  Really, except the circles not being circular, I'm pretty happy with the quilting.  One thing I'm not too thrilled with is the way the pattern is designed these will get cut down to 8" blocks (about on the edge line of the quilting, though those aren't 100% accurate) so the outside of each pattern gets cut off.  I might cut 1/4" outside that line, so that IT gets covered with the binding strip, but the quilting pattern doesn't.  But I'm not sure.


This would have probably been easier to read if I kept the blocks in the same order for each section. But moving pictures around on blogger is surprisingly hard.  Sorry!

Wednesday, May 14, 2014

Building Blocks: Post 1

I started a new quilt a long. It is with Leah Day (of course!) and designed to take all year. It teaches quilting and piecing skills.  This quilt is marked, which is new to me- everything I've done has been free handed.  I also really need piecing help.

Here's the pattern if you want to join along: http://www.leahday.com/shop/product/building-blocks-download-quilt-pattern/

Because of my injury, I can only quilt for about 30-40 minutes before I'm getting tired, but quilting is actually one of the few things that isn't hurting my neck. The brace actually holds me in just the right position for quilting, so I'm not hunching like I normally do! When I get it off, maybe I need to throw it into the sewing room :)

But I've been able to work a little at a time and get things done.

Here are the blocks pieced and marked for quilting.  Things start very simple, but since only 2 of the 3 have a real sharp point in the middle of the piecing, I needed simple!
For these blocks, I used a flashlight under a glass table to trace.  I'm using a chalk pencil to mark, and I think I might need something with a finer line for future designs, especially as they get more complicated, it is hard to mark accurately.


And here are the backs of the blocks.  I'm very happy with my stitch length, good and consistent.  The block with all the straight lines has some pretty bad build up where I had to travel stitch in the ditch. Ditches are my nemesis, and straight lines aren't exactly my favorite...


And finally- what the blocks look like on the front.  For ease of quilting, the blocks are pieced as 10" squares, but they will be cut down to 8" squares when they are pieced together.  A little wasteful, but having something to hold onto, as well as quilting on a small square instead of a large quilt really facilitates learning to quilt!